The image below is a link. Try to click on it.

USB irDA adapter for Medical Applications

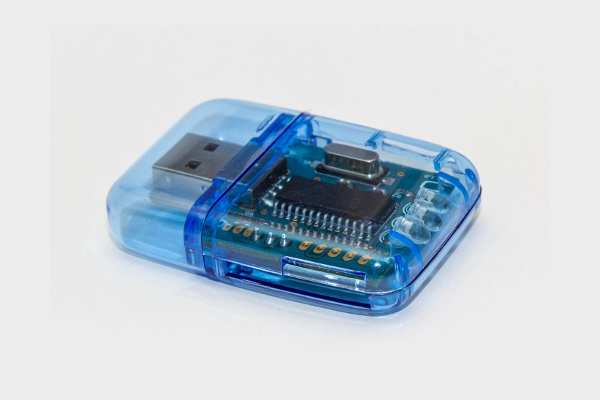
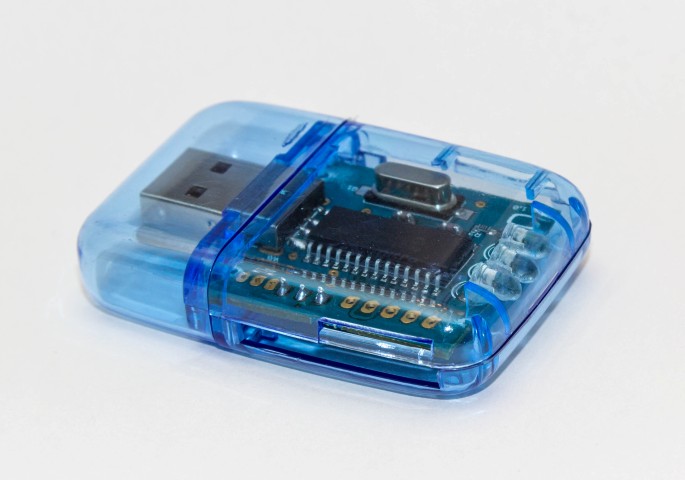
The Irdroid USB irDA adapter is a irDA SIR certified irDA adapter with configurable baud rates from 9600 to 115200bps. The adapter is compatible with, Windows 7, Windows 8, and Windows 10, suitable for Medical applications (communications for Heart Rate monitors, Blood pressure monitors and more. ) . The device is manufactured in the European Union and comes with a Declaration of Comformity. It is available for purchase from Europe / Bulgaria via irdroid.eu website

The image below is a link. Try to click on it.

Irdroid- HTPC – Control your Kodi Media Center from your TV Remote

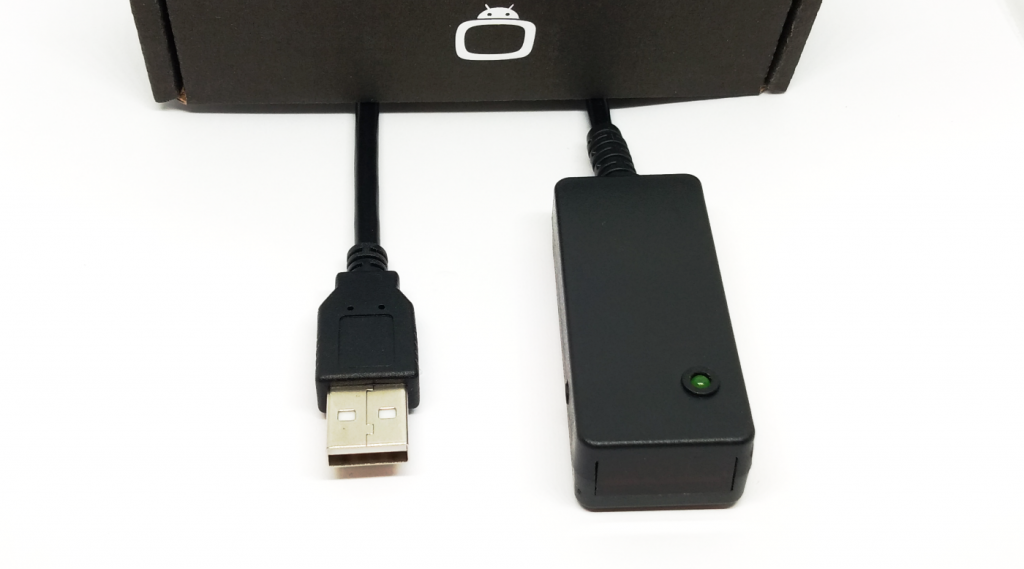
The Irdroid-HTPC Universal USB Infrared Remote Control Receiver for Kodi / HTPC media centers

The Irdroid-HTPC Universal USB Infrared Remote Control Receiver for Kodi / HTPC media centers


Recently I have installed the Kodi media center on an old thin client HP t620 computer. All was working very well except that I needed to use my TV remote with the the newly installed Kodi Media center and be able to control both the TV set and the media center from the same remote control.

I have tried using an HDMI CEC adapter, but with no success as HDMI CEC isnt’ properly supported in all manufacturers in my case I was experiencing significant issues with HDMI CEC remote control on Samsung with Anynet+ , so I have decided to check the possibilities with infrared remote control and decided to design one of my own – the Irdroid-HTPC USB Infrared Remote Control Receiver, that can be used to pair your existing TV remote , or any other TV Remote in order to control both your TV and Kodi media center at the same time.

The unit is equipped with long enought USB cable, directly attached to it and in my case it eased my installation. The unit has also Velcro dots with stiker-like pads which allow for easy fixing to any surface.

The Irdroid-HTPC enumerates via USB as a standard USB Keyboard, and pairing my TV Remote control with it was easy, by simply clicking the pair / program button and assigning my remote keys one after the other. I have also tested the Irdroid-HTPC on my Macbook PRO and on another laptop with MS Windows, both worked properly.


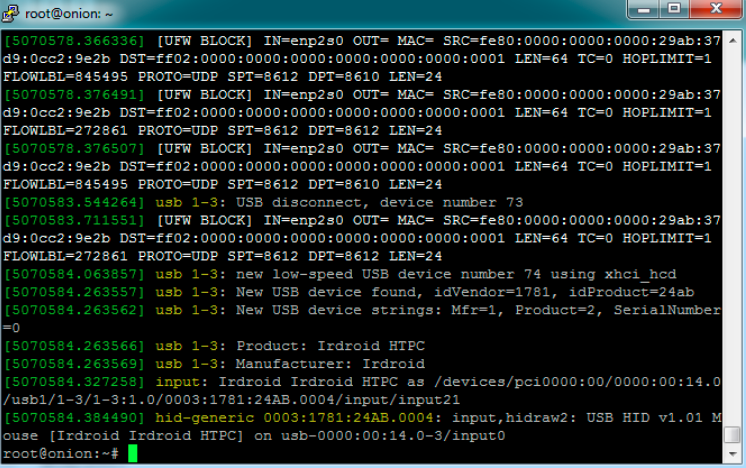
Below is a screenshot showing “dmesg” and device enumeration after insertion:

Irdroid-HTPC-USB-Remote-control-receiver-enumeration-linux

Irdroid-HTPC-USB-Remote-control-receiver-enumeration-linux

As you can see it does enumerate as a Standard HID device. The cool thing about this unit is that you don’t even need any software to pair your existing remote control with the receiver. It has a programming button on it which allows you to record the keys that you need from your remote control and map them automatically to specified keystrokes. They have the following keystrokes in firmware by default:

  • Up
  • Down
  • Left
  • Right
  • Enter
  • Back
  • Prev (*Shortcut to Favourites in Kodi)
  • Next (*Shortcut to Weather in Kodi)
  • Play/Pause

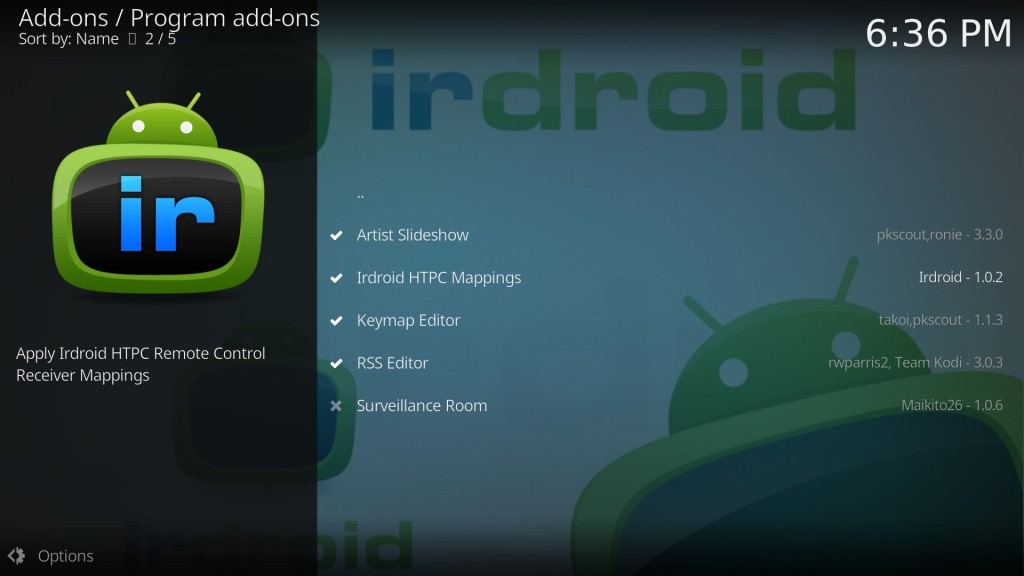
* The shortcuts can be assigned using the Kodi addon, designed for the Irdroid-HTPC

Kodi addon for applying shortcut mappings

Kodi addon for applying shortcut mappings

The unit stored my remote control buttons in its non-volatile eeprom memory and the procedure is carried just once, then it is ready for use. The infrared receiver is very sensitive ( with ir lens ) that provide great operation range and angle e.g you dont need to point the remote control toward the unit in order to be able to control your HTPC which is absolutely great!

In Kodi I have programmed the following keys from my remote control: up, down, left, right, enter, back, prev, next, play/pause. This was enought to take full control of kodi using my TV remote, and at the same time be able to control my tv with its remote control.

In addition to the above the Irdroid-HTPC is both open source software and open source hardware with their documentation and code published in GitHub. It will allow you to completely change the software / firmware of the unit by simply opening its Arduino Sketch in the Arduino IDE, changing the code as per your needs and reflashing it via USB (It is shipped with a version of the micronucleous bootloader, that is compatible with the Arduino IDE).

Another cool thing about this unit is that it is open hardware and the schematics and design files are available in Irdroid’s GitHub repository .

Supported Operating Systems

  • GNU Linux
  • Mac OS X
  • MS Windows
  • Android

Resources:

The Irdroid-HTPC Universal USB Infrared Remote Control Receiver for Kodi / HTPC media centers

The Irdroid-HTPC Universal USB Infrared Remote Control Receiver for Kodi / HTPC media centers


Irdroid HTPC USB Infrared Remote Control Receiver, assembled and tested

In Stock: $26


The image below is a link. Try to click on it.

Wireless Multi Zone Infrared Extender Solution

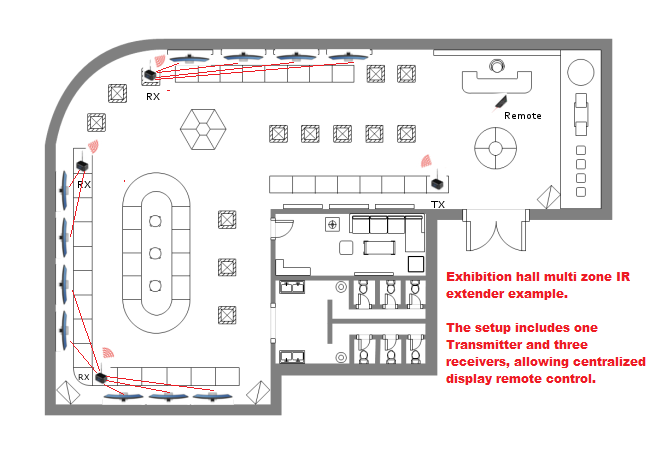
In this Blog post I will discuss some possible usage scenarios for Wireless Multi Zone Infrared Extender solutions. When a Multi Zone Infrared Extender is needed?

Example Usage:

  • Extending and splitting the Infrared signal in big premises
  • Big exhibition halls
  • Big Shops / Malls
  • Apartments
  • Stadiums

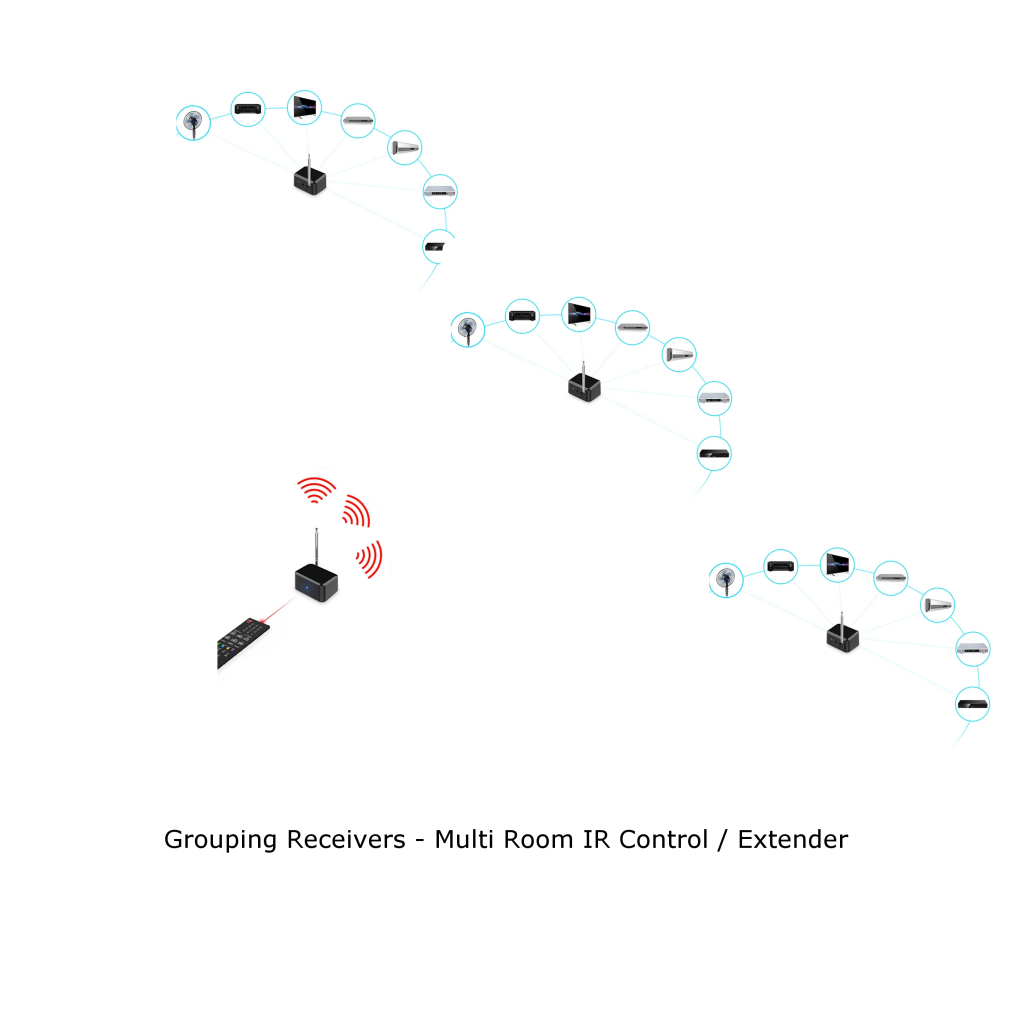
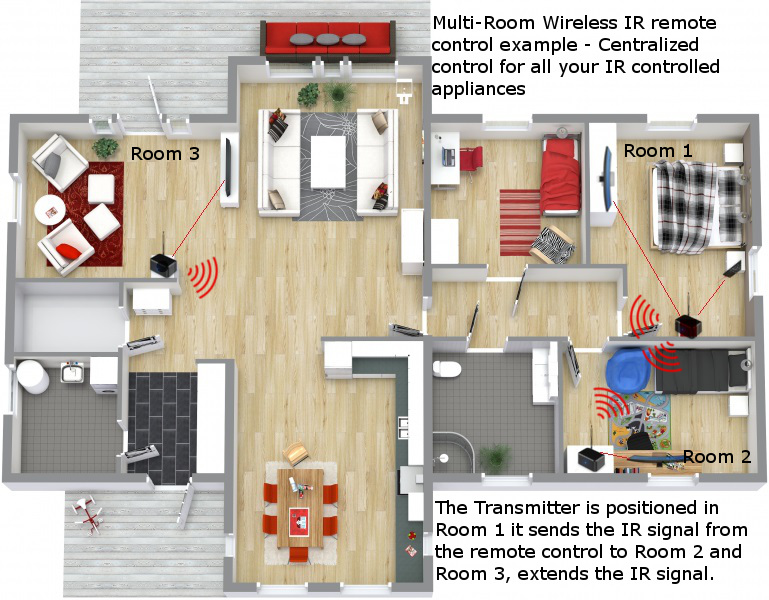
The Multi Zone Infrared Extenders are used to extend and split/multiply the infrared signal, thus allowing remote control of Displays/STBs/TVs from a centralized location. The usual setup consist of at least one Transmitter unit and two Receiver units. The transmitter captures the Infrared signal, emitted from the remote control, converts it to wireless signal which travels down to the receiver/s . The Receiver/s convert the wireless signal to infrared signal which is emitted to the target equipment, such as Air Conditioners, TVs, STBs, Monitors.

Below are some sketches of Exhibition Hall Multi Zone Infrared Extender solution and Apartment Multi Zone Infrared Extender solution

Exhibition Hall Multi Zone Infrared Extender Solution Example


exhibition hall multi zone infrared extender solution

exhibition hall multi zone infrared extender solution


Apartment Multi Zone Infrared Extender Solution


apartment multi zone infrared extender solution

apartment multi zone infrared extender solution


Resources:


The image below is a link. Try to click on it.

Irdroid irDA NEW Product range


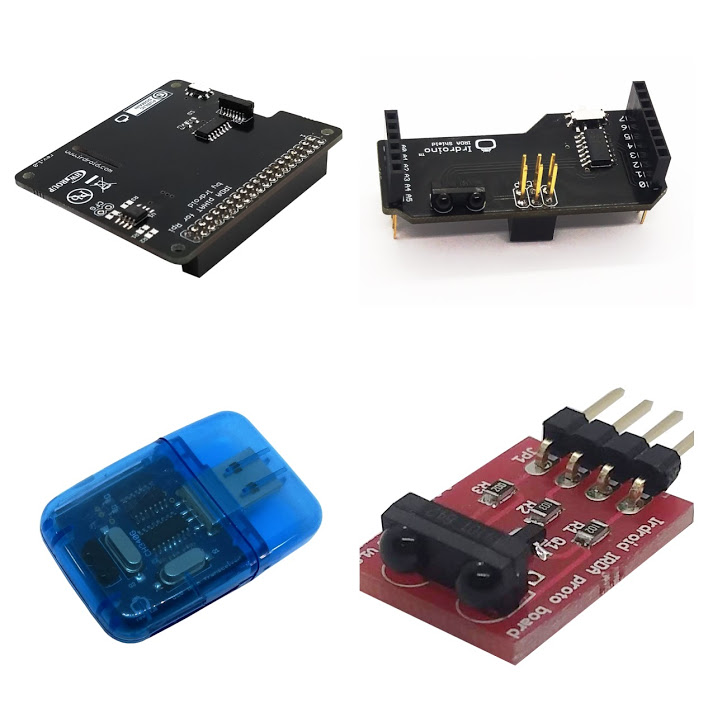
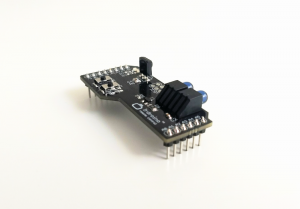
We have developed four NEW irDA SIR modules that cover irDA SIR Specification 1.3 and it allows communication with irDA compliant devices with baud rates from 9600 – 115200 .

Four new modules were developed:

You can read more in this BLOG post or you can purchase samples from HERE.


The image below is a link. Try to click on it.

New Firmware for the Irdroid USB Infrared Transceiver v2.5

Today (12.06.2018) we have released a NEW firmware version 2.5 for the Irdroid USB Infrared Transceiver module. The new firmware introduces two new modes – separate transmit mode and separate receive mode. The Idea is that the sampling mode was sometimes causing problems on Android (USB Stalls/ USB Replug needed in some cases) and therefore we had to think about a solution backward compatible with the software for the other Operating Systems and at the same time stable on Android (the sampling mode remains unchanged/ the one initiated with the text command ‘S’ ).

To enter transmit mode the Irdroid USB App issues the text command “n” over serial and the module enters transmit mode. To enter receive mode the command used is ‘m’ and the module enters in receive mode. The other mode – sampling mode remains unchanged , initiated by the ‘S’ text command.

Downloads:

The image below is a link. Try to click on it.

NEW Product in Stock- Infrared (IR) Proto Shield for Arduino

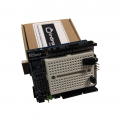
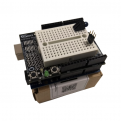
The latest gadget in our online store is the Infrared (IR) Proto Shield for Arduino. It can be used to prototype and experiment with Infrared on Arduino. The board comes with a High Power IR LED, High Quality IR Receiver IC , SMD and BreadBoard prototyping area.

You can read more about the product Here:


The image below is a link. Try to click on it.

Irdroino Infrared (IR) Shield for Arduino

In this Blog post I am just re-blogging / sharing our Blog post from our EU website https://irdroid.eu about Irdroino Infrared Shield for Arduino.
You can read the whole Blog post and watch a demo vide by following the link below:

https://irdroid.eu/playing-irdroino-infrared-ir-shield-arduino/

The image below is a link. Try to click on it.

WiFi to Infrared module introduction


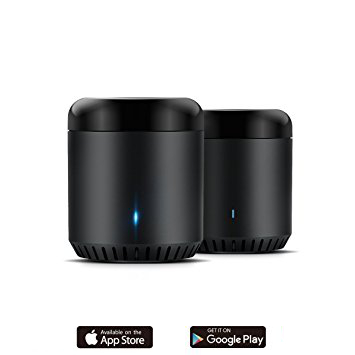
The WiFi to Infrared (IR) converter module will allow you to remotely control your home appliances ( Air Conditioners, TVs , Audio, STBs, DIY devices and many more ), using you smartphone via the free application for Android and iOS. The module comes with a microUSB power supply cable and a user manual for downloading and configuring the application for Android and iOS. The unit is truly universal as you can choose thousands of devices remote control codes and in addition if your target device is not in the database, you can “record” your remote control as the wifi to infrared module has a infrared “learning” function, so that you seamlessly add your device in case it is not in the database of supported devices.

The video below shows unboxing of the WiFi to Inrared module


The Wifi to Infrared module has build in functions for automatically recognizing the target device / infrared  remote control . If you have the original device remote control you can add it by simply scanning the original remote control infrared commands. These scanning  / learning functions are build in in the free applications for Android and iOS that comes with the WiFi to Infrared module.

The video below demonstrates how the remote control “learning” procedure works. It shows you how to add an Air Conditioner remote control in the App.


You can purchase WiFi to Infrared module from the link below:

– https://irdroid.eu/product/wifi-to-ir-converter/


The image below is a link. Try to click on it.

Battery powered infrared devices considerations and design using open source tools and hardware

Designing battery powered devices that have to run for years on batteries is a challenge. If you look around you will see that most of the home appliances such as TVs, Music devices, Aircons, Heaters, Fans and so on are controlled using battery powered remote controls. The remote controls used with these devices should run for long periods of time on batteries.

 How is this achieved? Can we design a embedded custom remote control, by using open source hardware and software tools?

The Answer is Yes. We can use off-the-shelf low energy power consumption microcontrollers which will allow us to run on batteries for long periods of time. In this post we will review the possibilities with Atmel Atmega328P microcontroller, running at 16MHz and powered by 3.3V. We will also review and measure some off-the-shelf open source hardware development boards like Arduino, Olimexino etc.


We will review the following:

  •  Breadboarded Atmega328
  • Arduino UNO R3 Atmega328

  • Olimexino 328 uses Atmega328


According to the MCU specification the microcontroller supports sleep modes with minimal power consumption (Approximately 0.1uA).

 For the measurements we will use the BRYMEN 867s Digital Multimeter.

According to the MCU Specification we will have to power the Atmega with 3.3V in order to benefit from the lower current/power consumption. For the breadboarded version,we have just the Microcontroller, a quartz and two caps we are expecting to get the lowest result/ measurement.


In terms of software for our tests we will use a test program that will put the MCU in sleep mode, written for Arduino . The test program does really a simple thing – when the MCU is awaken / not in sleep mode it flashes the board LEDs for 5 times it waits for 10 seconds, then the microcontroller is forced to enter sleep mode. The sleep mode can be interrupted by grounding the INT0 pin of the MCU. The idea is that when in sleep mode all MCU peripheral and core is switched off and therefore we have minimal power consumption. Nothing is running in sleep mode, except for the logic that wakes up the MCU. The main program of the MCU is executed every time waken up, it does its thing and then it goes to sleep after a user defined period of time (usually several seconds after it performs a task.)


We have the following listing:

 /*———————————————————————-*

* Sleep demo for ATmega328P.                                           *

* Wire a button from digital pin 2 (INT0) to ground.                   *

* Wire an LED with an appropriate dropping resistor from pin D13 to    *

* ground.                                                              *

* Pushing the button wakes the MCU.                                    *

* After waking, the MCU flashes the LED, then waits 10 seconds before  *

* going back to sleep.                                                 *

*                                                                      *

* Jack Christensen 07May2013                                           *

*                                                                      *

* Tested with Arduino 1.0.5 and an Arduino Uno.                        *

* Test conditions for all results below:                               *

*   5V regulated power supply, fed to the Vin pin                      *

*   16MHz system clock                                                 *

*   Fuse bytes (L/H/E): 0xFF / 0xDE / 0x05                             *

*   Optiboot bootloader                                                *

*                                                                      *

* Uno R1                                                               *

*   38mA active, 26mA with MCU in power-down mode.                     *

*                                                                      *

* Uno SMD edition                                                      *

*   42mA active, 31mA power-down.                                      *

*                                                                      *

* Adafruit Boarduino                                                   *

*   Power select jumper set to “USB”, USB (FTDI) not connected.        *

*   15mA active, 3mA power-down.                                       *

*                                                                      *

* Adafruit Boarduino without power LED                                 *

*   12mA active, 0.1µA power-down.                                     *

*                                                                      *

* Breadboarded ATmega328P-PU                                           *

*   12mA active, 0.1µA power-down.                                     *

*                                                                      *

* This work is licensed under the Creative Commons Attribution-        *

* ShareAlike 3.0 Unported License. To view a copy of this license,     *

* visit http://creativecommons.org/licenses/by-sa/3.0/ or send a       *

* letter to Creative Commons, 171 Second Street, Suite 300,            *

* San Francisco, California, 94105, USA.                               *

*———————————————————————-*/

#include <avr/sleep.h>


const int LED = 13;                          //LED on pin 13

const unsigned long KEEP_RUNNING = 10000;    //milliseconds


void setup(void)

{

   //to minimize power consumption while sleeping, output pins must not source

   //or sink any current. input pins must have a defined level; a good way to

   //ensure this is to enable the internal pullup resistors.


   for (byte i=0; i<20; i++) {    //make all pins inputs with pullups enabled

       pinMode(i, INPUT_PULLUP);

   }


   pinMode(LED, OUTPUT);          //make the led pin an output

   digitalWrite(LED, LOW);        //drive it low so it doesn’t source current

}


void loop(void)

{

   for (byte i=0; i<5; i++) {     //flash the LED

       digitalWrite(LED, HIGH);

       delay(100);

       digitalWrite(LED, LOW);

       delay(100);

   }

   delay(KEEP_RUNNING);           //opportunity to measure active supply current

   digitalWrite(LED, HIGH);       //one blink before sleeping

   delay(100);

   digitalWrite(LED, LOW);

   goToSleep();

}


void goToSleep(void)

{

   byte adcsra = ADCSRA;          //save the ADC Control and Status Register A

   ADCSRA = 0;                    //disable the ADC

   EICRA = _BV(ISC01);            //configure INT0 to trigger on falling edge

   EIMSK = _BV(INT0);             //enable INT0

   set_sleep_mode(SLEEP_MODE_PWR_DOWN);

   cli();                         //stop interrupts to ensure the BOD timed sequence executes as required

   sleep_enable();

   //disable brown-out detection while sleeping (20-25µA)

   uint8_t mcucr1 = MCUCR | _BV(BODS) | _BV(BODSE);

   uint8_t mcucr2 = mcucr1 & ~_BV(BODSE);

   MCUCR = mcucr1;

   MCUCR = mcucr2;

   //sleep_bod_disable();           //for AVR-GCC 4.3.3 and later, this is equivalent to the previous 4 lines of code

   sei();                         //ensure interrupts enabled so we can wake up again

   sleep_cpu();                   //go to sleep

   sleep_disable();               //wake up here

   ADCSRA = adcsra;               //restore ADCSRA

}


//external interrupt 0 wakes the MCU

ISR(INT0_vect)

{

   EIMSK = 0;                     //disable external interrupts (only need one to wake up)

}


The code will flash the board leds 5 times, wait for 10 seconds, to allow us to make a measurement and then it will force the MCU to enter sleep mode.


We have tested breadboarded Atmega328, Arduino UNO R3 and Olimexino 328, as you can see from the code header, other people has tested and mesured also for other boards , based on Atmega328.


The results for the breadboarded Atmega328 are stunning – 0.1uA in sleep mode, though there is nothing else than the microcontroller, a quartz and 2 caps,powered by 3.3V. (the first pretendent )


The second in this list is the Olimexino 328 , running at 16MHz, powered by 3.3V. The board is designed with on board charger for connecting external batteries. In a running mode the total power consumption at 3.3V was about 7ma , in sleep mode this board consumes approximately 200uA, which makes it usable for battery powered devices. (Our second pretendent)


And finally the Arduino UNO R3 gave us high power consumption both active and sleep modes (  38mA active, 26mA with MCU in power-down mode ) which renders it unusable for designing battery powered infrared applications.


Conclusion:

 The user should either make a custom design , using the Atmega328 and create a design with low energy consumption in mind, or use the Olimexino 328 as a basis, which is open source hardware and it has a decent power consumption both active and sleep modes.


Downloads:


The image below is a link. Try to click on it.

Windows Server 2012 drivers workaround for irdroid usb ir transceiver

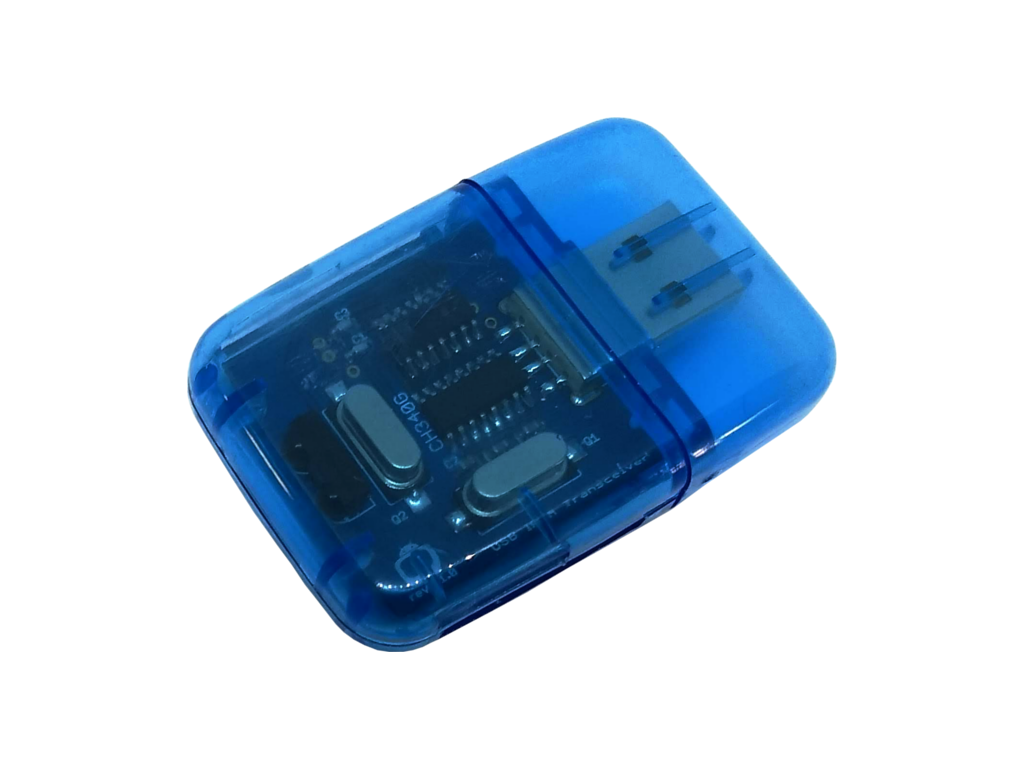
Irdroid USB IR Transceiver v1.0

We got a nice email from a customer from the Irdroid community saying that the Irdroid USB Infrared Transceiver works without any drivers on Windows 10. He tested Also with Windows Server 2012 and there was a driver issue , using the drivers we provide from the download section. The Issue with Windows 8 and Windows Server 2012 is that signed USB ACM drivers are needed. Windows Server 2012 requires that all drivers need to be signed, The USB Infrared Transceiver can work with Windows 8 but the workaround is that you need to turn off the signed driver requirement.

You can deactivate the forcing of signed drivers by using following Settings. Open a Command Prompt (cmd) as Administrator and type in following two commands. bcdedit -set loadoptions DISABLE_INTEGRITY_CHECKS bcdedit -set TESTSIGNING ON With bcdedit you´re configurating the bootmenu of windows, so be careful. If something goes wrong you´ll need a windows dvd to repair the bootmanager. After a restart you can install the driver normally. You just have to confirm to install the unsigned driver, just like in older versions of Windows.